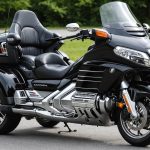
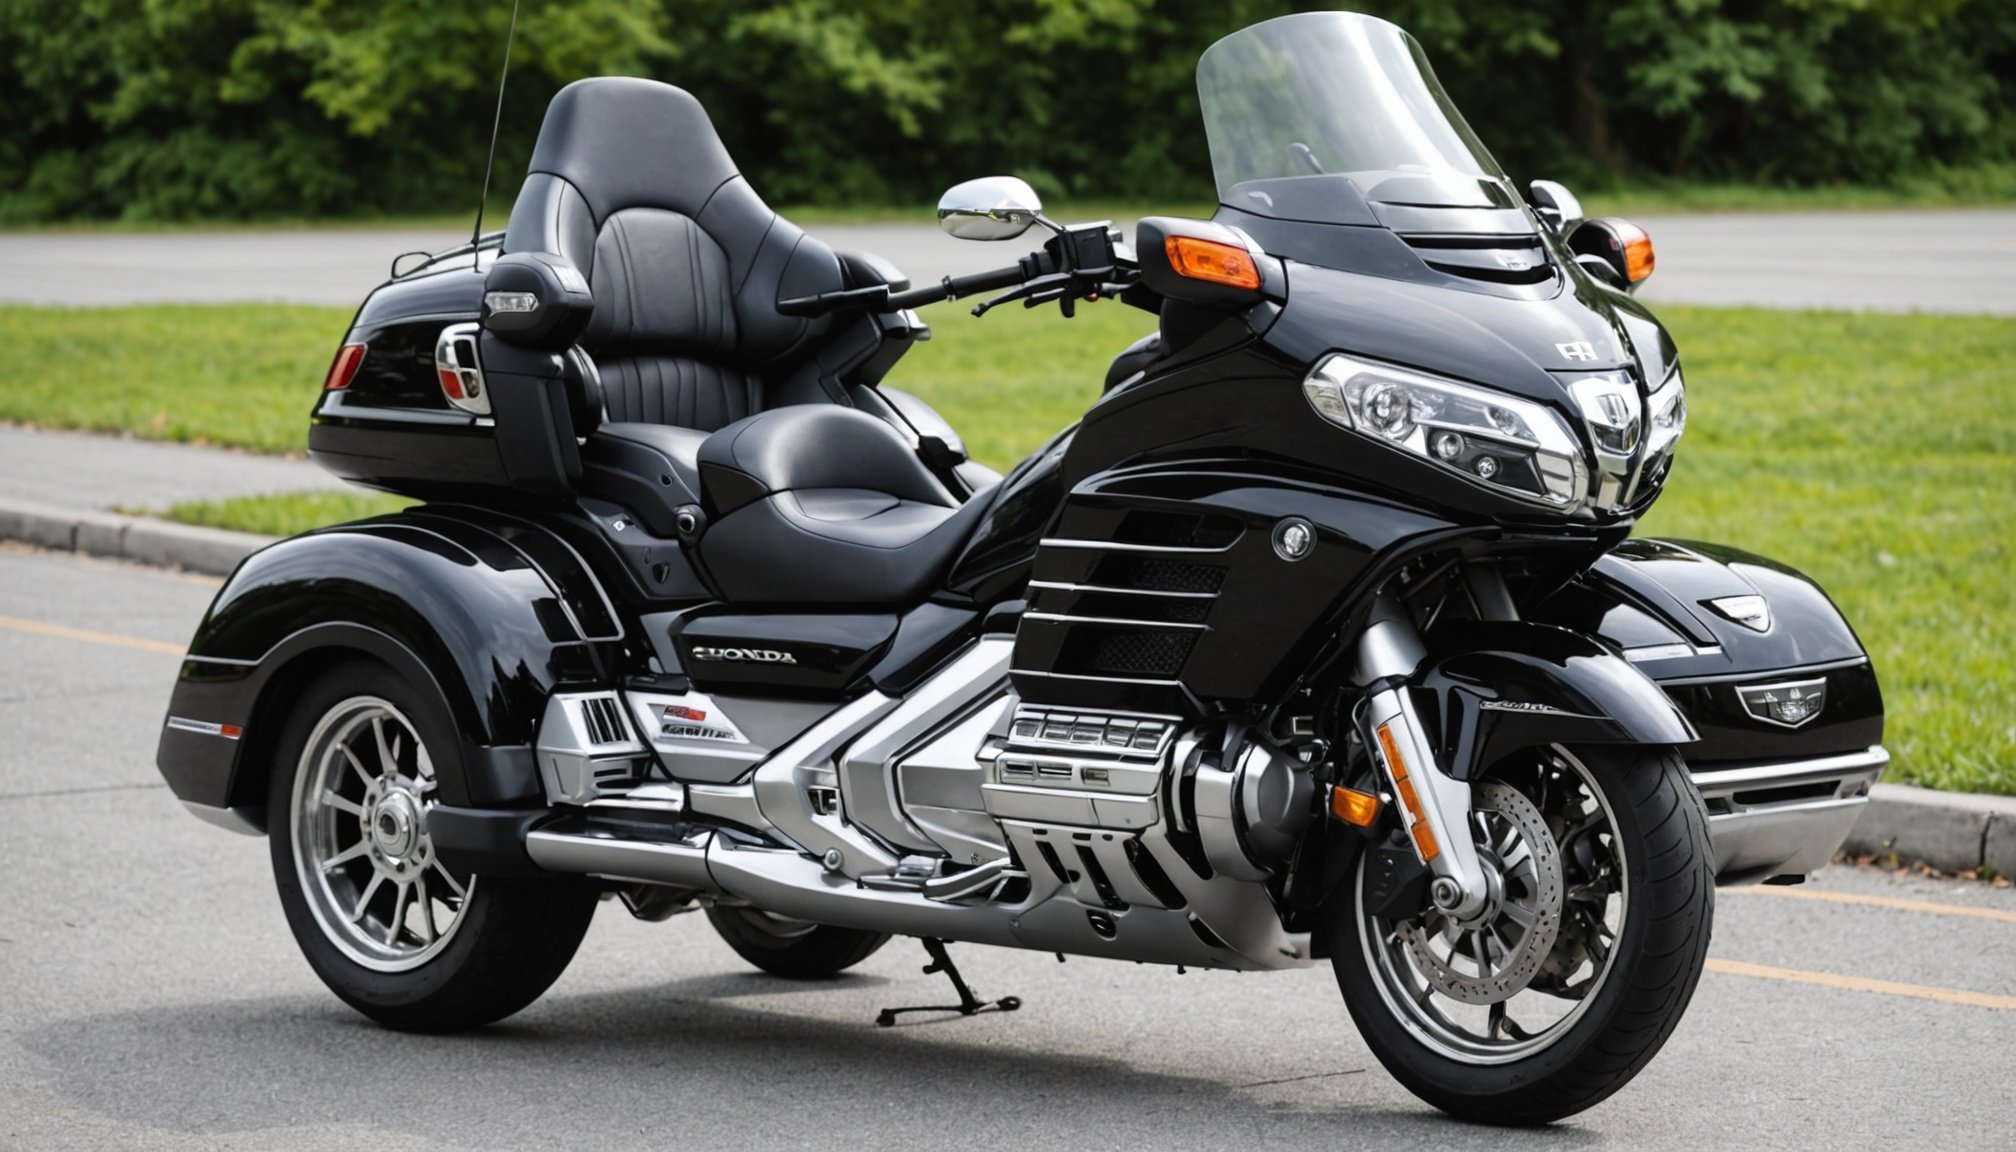
A Step-by-Step Guide: How to Properly Install a Top Box on Your Honda Goldwing
Installing a top box on your Honda Goldwing can be a rewarding project that enhances the storage and utility of your bike. Here’s a comprehensive guide to help you through the process, ensuring that your installation is both safe and functional.
Preparing for the Installation
Before you begin, it’s crucial to prepare everything you need to avoid any last-minute trips to the hardware store or delays in the installation process.
In the same genre : Unveiling the Best Timing Belt Replacement Schedule for Your Ducati 998: A Guide to Enhanced Reliability
Gathering the Necessary Tools and Parts
- Top Box and Fitting Kit: Ensure you have the correct top box model compatible with your Honda Goldwing. Popular brands like SHAD offer specific fitting kits for the Goldwing[4|.
- Mounting Rack: This is usually included in the fitting kit but double-check to ensure it’s there.
- Bolts and Fasteners: Make sure all the bolts and fasteners provided in the kit are accounted for.
- Tools: You will need a socket set, wrenches, and possibly a torque wrench.
- Manual or PDF Instructions: Download the PDF instructions from the manufacturer’s website or use the printed manual provided with the kit.
Choosing the Right Top Box
When selecting a top box, consider the size and type that best suits your needs. For example, the SHAD Terra box is popular among Goldwing owners for its spacious interior and durable construction.
| Top Box Model | Capacity | Weight Limit | Compatibility |
|
|----------|
|---------------|
| SHAD Terra | 39 Liters | 10 kg | Honda Goldwing GL1800 |
| SHAD SH48 | 48 Liters | 10 kg | Honda Goldwing GL1800 |
| Givi V46 | 46 Liters | 10 kg | Honda Goldwing GL1800 |
Mounting the Rack
The first step in installing your top box is to mount the rack onto your Honda Goldwing. Here’s how you can do it:
Also to discover : Maximizing Braking Power: Enhancing Your Triumph Street Triple with Aftermarket Brake Pads
Step 1: Locate the Mounting Points
Identify the mounting points on your bike where the rack will be attached. These are usually located at the rear of the bike and may require removing some of the existing panels or trim to access.
Step 2: Attach the Rack
- Use the bolts and fasteners provided to secure the rack to the bike. Make sure these are tightened to the specified torque to avoid any damage or instability.
- If your rack comes with additional supports or brackets, ensure these are properly aligned and secured.
### Tips for Mounting the Rack
- **Use a Torque Wrench**: To ensure the bolts are tightened to the correct torque specification.
- **Check Alignment**: Make sure the rack is perfectly aligned with the bike’s frame to avoid any imbalance.
- **Consult the Manual**: If you’re unsure about any part of the process, refer to the manual or PDF instructions.
Attaching the Top Box to the Rack
Once the rack is securely mounted, it’s time to attach the top box.
Step 3: Align the Top Box
Place the top box onto the rack and ensure it is properly aligned with the mounting points on the rack.
Step 4: Secure the Top Box
Use the provided fasteners to secure the top box to the rack. These usually include clips, bolts, or a combination lock system.
- Make sure all fasteners are tightened securely but avoid over-tightening, which could damage the box or rack.
### Common Issues and Solutions
- **Misaligned Mounting Points**: Double-check the alignment of the top box with the rack. If it doesn’t fit perfectly, consult the manual or contact the manufacturer.
- **Loose Fasteners**: Ensure all fasteners are tightened to the specified torque to prevent the top box from coming loose while riding.
Final Checks and Adjustments
After completing the installation, it’s essential to perform a few final checks to ensure everything is secure and functioning correctly.
Step 5: Test the Top Box
- Load the top box with some weight to simulate real-world conditions.
- Check for any movement or instability when the bike is stationary and when in motion.
- Ensure the top box does not obstruct any of the bike’s controls or visibility.
Step 6: Adjust as Necessary
If you find any issues during the test, make the necessary adjustments. This might involve tightening loose fasteners or adjusting the alignment of the top box.
### Practical Insights
- **Regular Maintenance**: Regularly check the fasteners and mounting points to ensure they remain secure over time.
- **Load Capacity**: Always adhere to the weight limit specified by the manufacturer to avoid damaging the top box or the bike.
- **Courier Delivery**: If you are ordering parts online, ensure you choose a reliable courier service like DPD to get your parts delivered within the specified working days.
Additional Tips and Considerations
Here are some additional tips and considerations to keep in mind when installing a top box on your Honda Goldwing:
Fitting Kits and Compatibility
Always ensure that the fitting kit you purchase is compatible with your specific Honda Goldwing model. SHAD, for example, offers fitting kits specifically designed for the Goldwing GL1800[4].
Return Policy and Warranty
Before making a purchase, check the return policy and warranty offered by the manufacturer. This can provide peace of mind in case you encounter any issues during or after the installation.
### Customer Feedback
- "I recently installed a SHAD Terra box on my Honda Goldwing GL1800, and the process was much smoother than I expected. The fitting kit was comprehensive, and the instructions were clear." - John D., Goldwing Owner
- "Make sure to follow the manual carefully. I missed a step and had to redo the entire installation. But once it was done, it was worth it." - Mark S., Goldwing Enthusiast
Installing a top box on your Honda Goldwing is a manageable project that can significantly enhance your bike’s utility and storage capacity. By following these steps, ensuring compatibility, and performing thorough checks, you can enjoy a safe and functional installation.
Remember, if you are not comfortable with the installation process, it is always advisable to seek the help of a professional mechanic. Happy riding